Hardware Setup
The HIL leverages the use of several hardware peripherals to control the orb. Most important is the serial adapter and the x86 linux machine. While any x86 linux machine will do, we recommend purchasing an ASUS/Intel NUC due to the convenient form factor.
Required Parts
We break down the parts into common/shared items, and items per-hil.
Note: Not all of these parts are required. In the most minimal case, we recommend at least getting some electrical tape, an x86 linux machine, the Micro USB cable, and a serial adapter. This will cover 90% of the use cases. Note also, no soldering is required!
Shared
- Electrical Tape
- US Source: TODO
- DE Source
- Some Male-Male Jumper Wires (but Male-Female or Female-Female as needed).
- US Source: TODO
- DE Source
- Display for initial bringup
- A flash-drive
Per HIL Rig
The Essentials
- 1x Intel NUC 13 Pro Mini PC Core i7-1360P 16GB RAM
- 1x FT232(RL) Serial Adapter
- 1x USB Power Blocker for Flashing Cable
- USB A male to micro USB male cable
- US Source: TODO
- DE Source
- USB Dock (at least three usb-A ports)
Flashing the microcontrollers
Connecting the parts to the orb
Flashing support
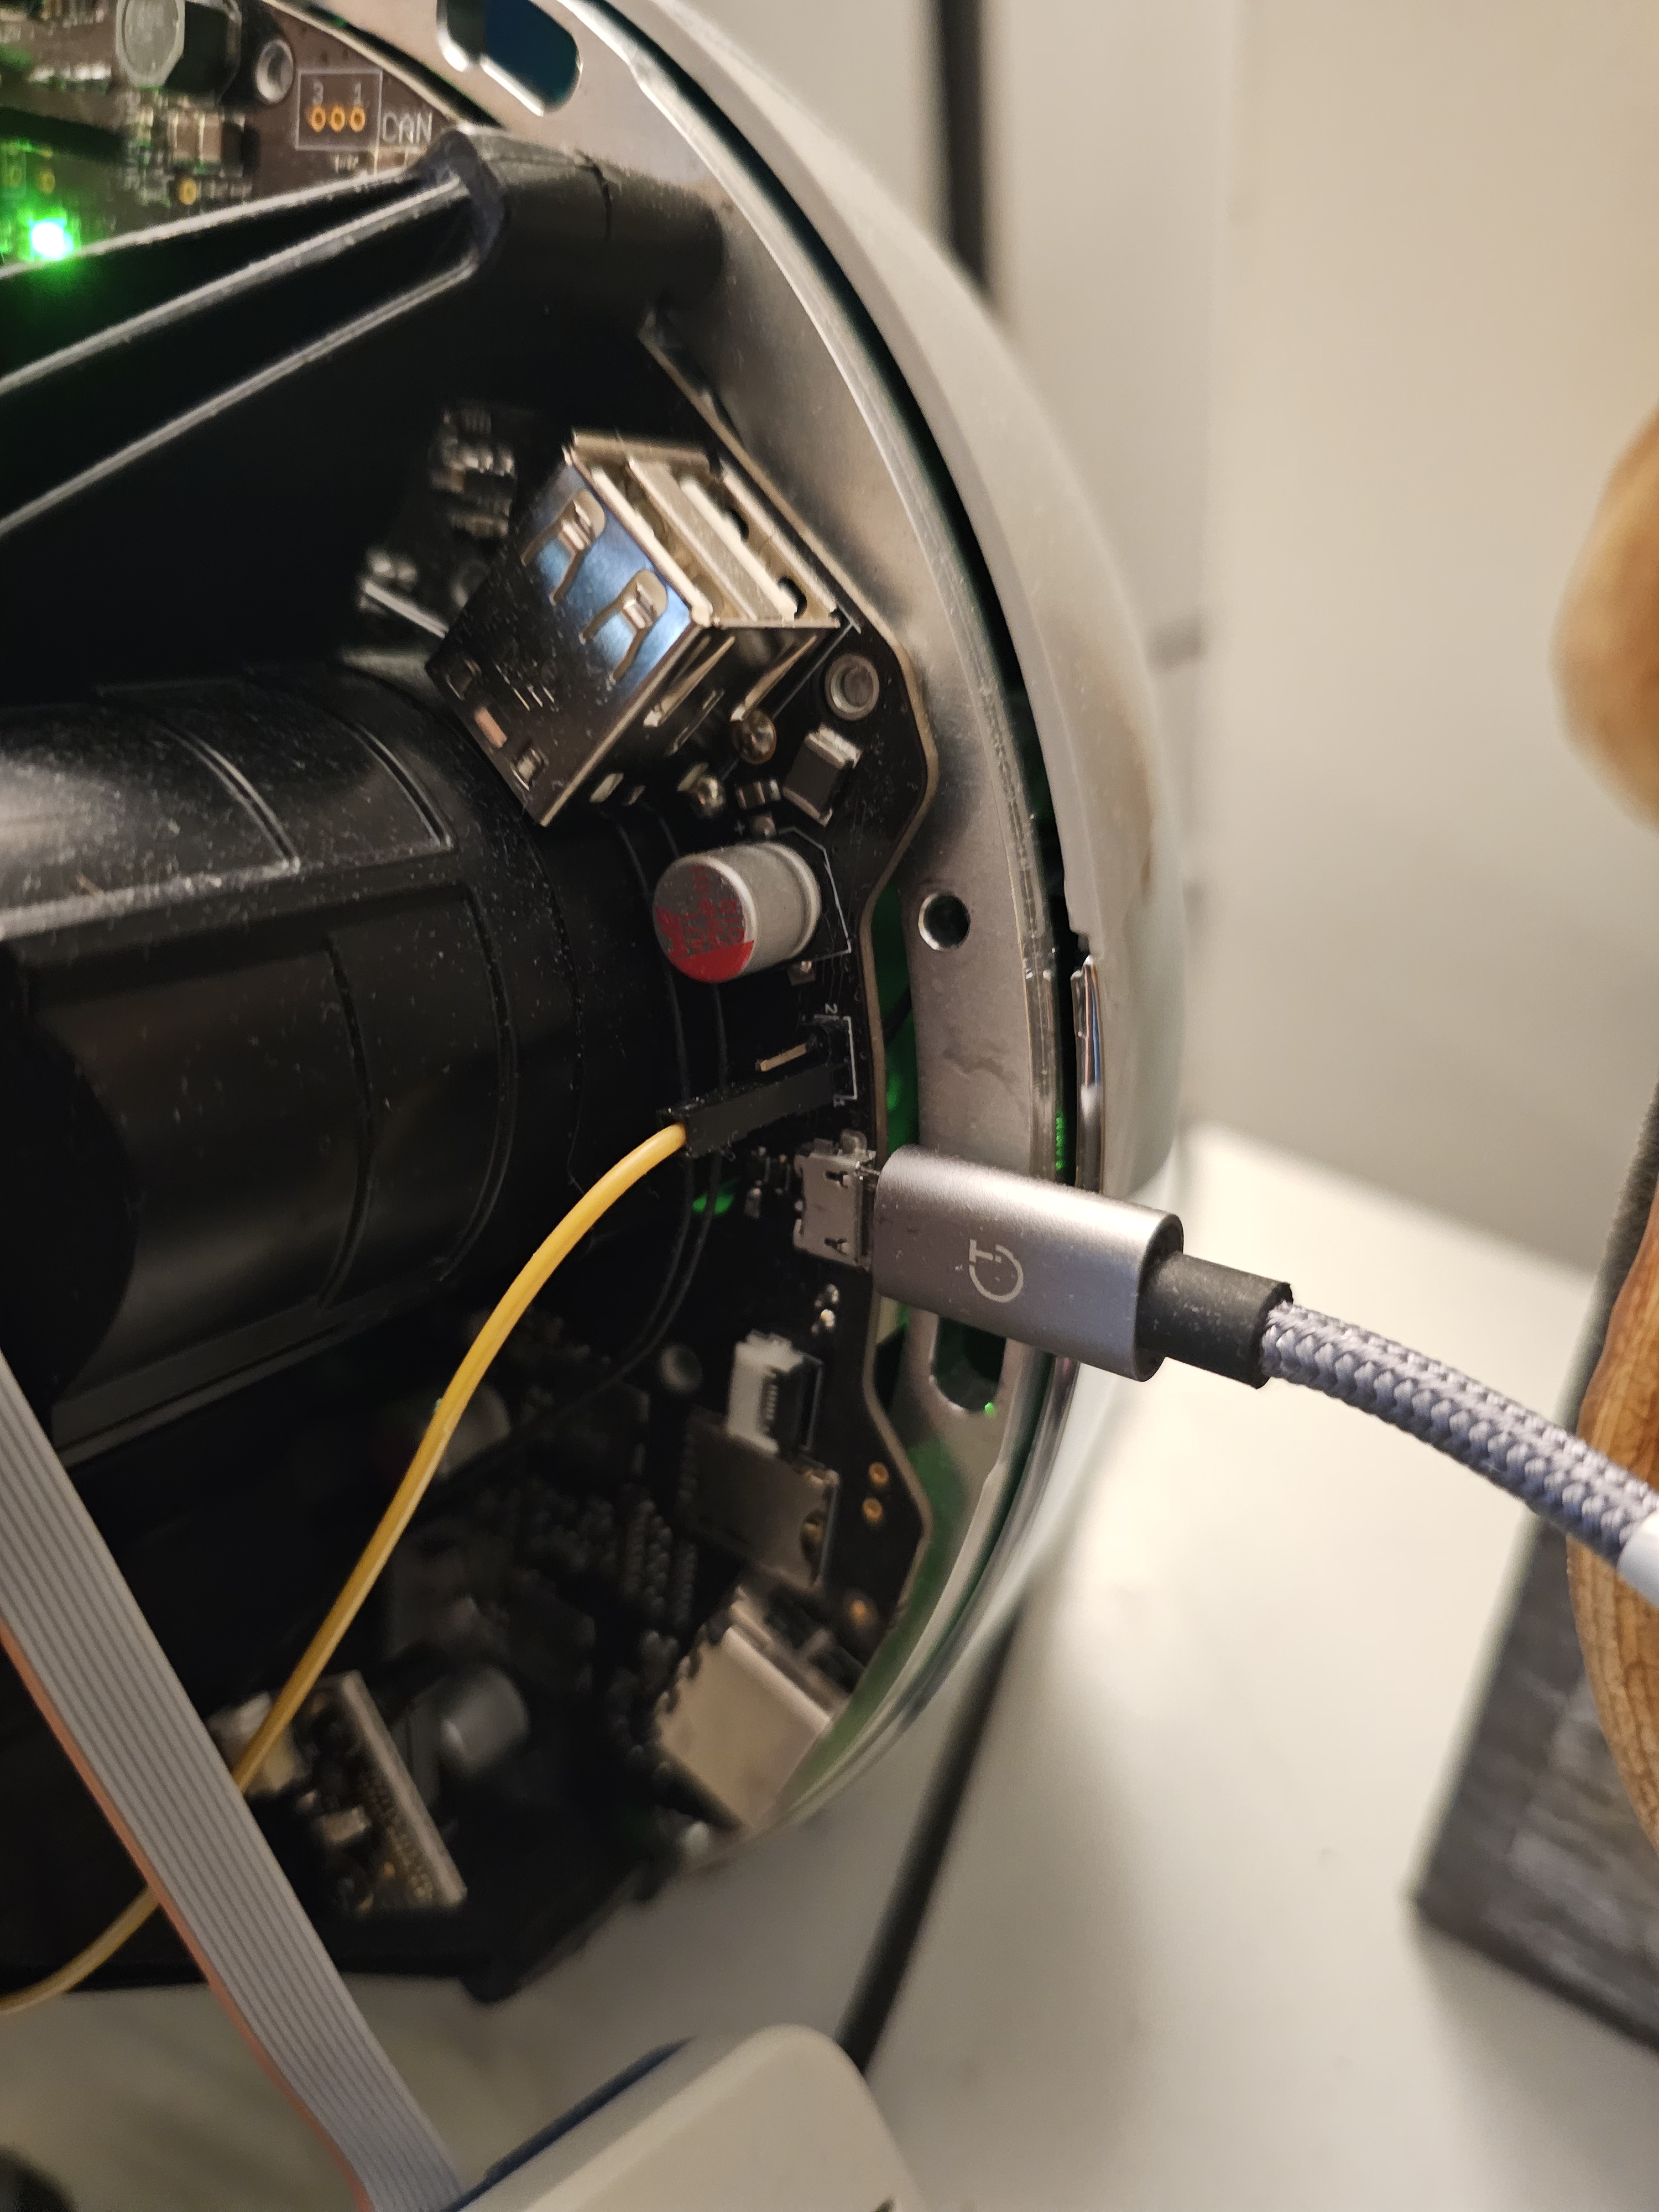
- Connect the microusb cable to the microusb port of the orb.
- Use the USB Power blocker to ensure that this cable is data-only. This will ensure that the main mcu doesn't get power from the cable. This is an optional but highly recommended step.
- Connect the usb power blocker to the NUC directly. Do not use the usb dock.
Serial and Reboot support
- Ensure the serial adapter is configured for 3.3v. There is a jumper on the serial adapter that controls this setting.
- Add electrical tape behind the TX and RX pins, to prevent short circuiting the pins against the chassy.
- Connect the GND pin of the serial adapter to the GND pin on the orb (there is one at the top).
- Connect TX and RX pins to the orb. TX (blue) on bottom, RX (green) on top.
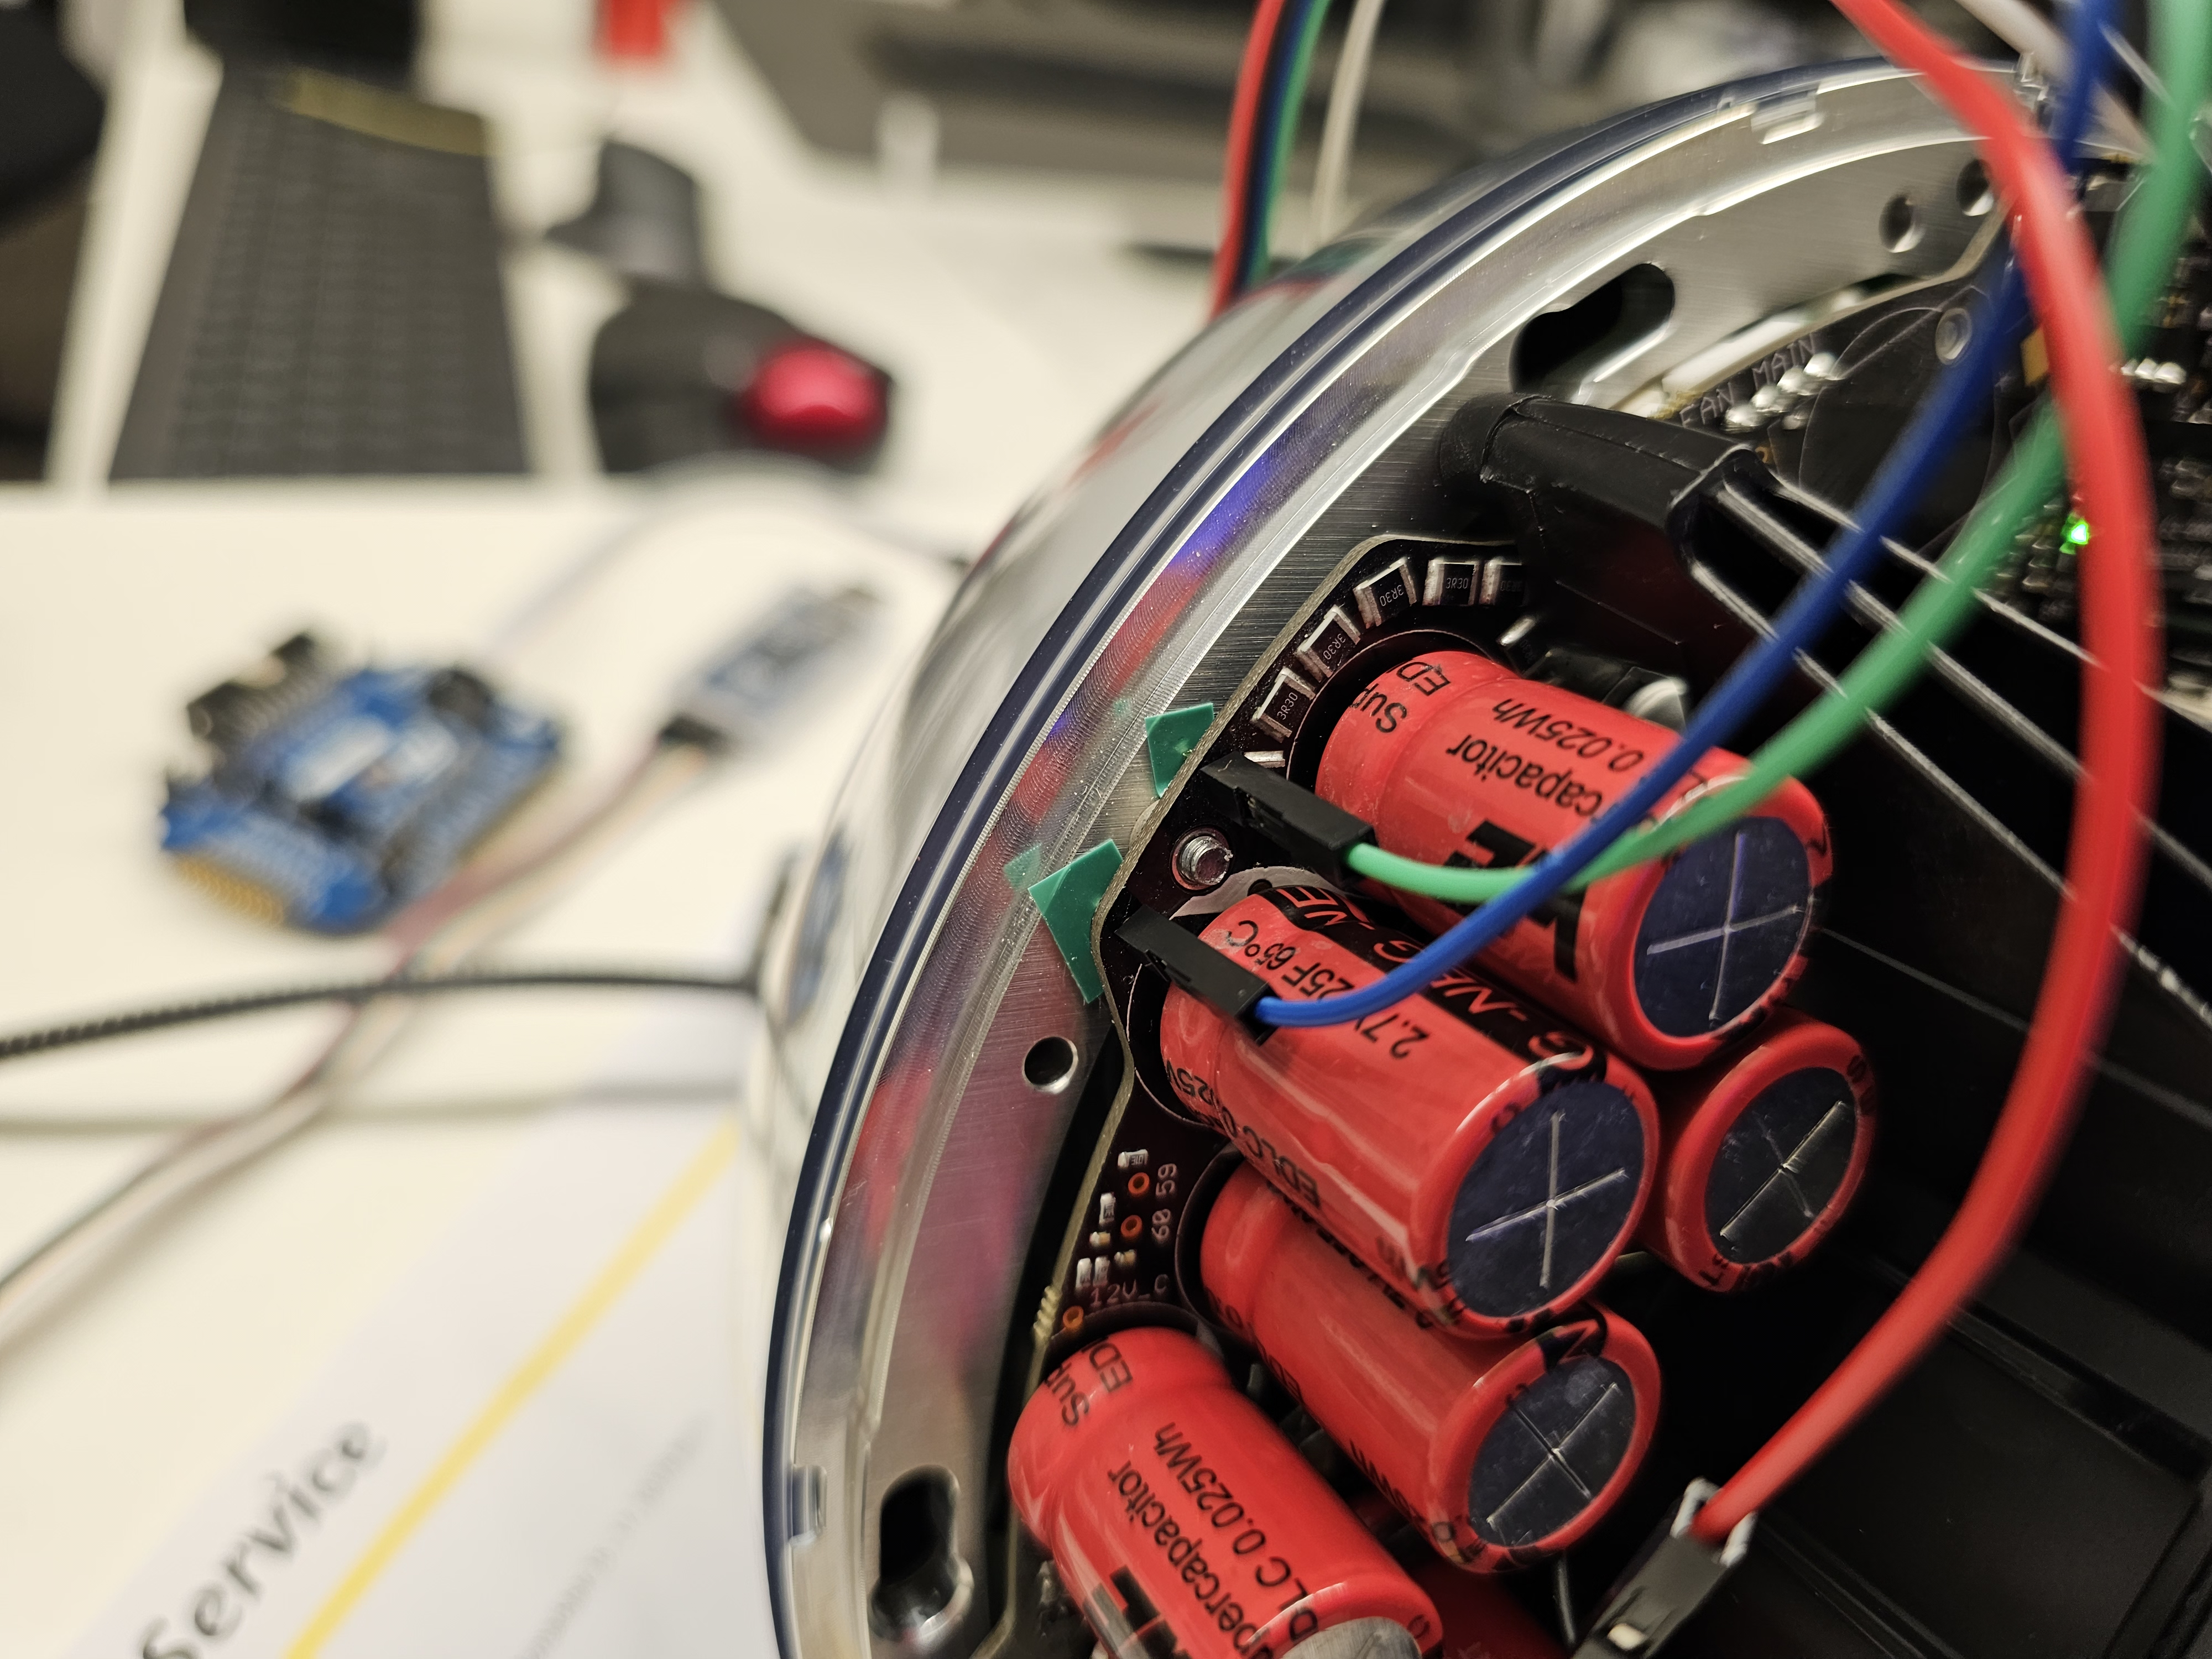
- Connect CTS pin to the BTN pin. Its located below the top
GND pin. This allows controlling the power button of the orb.

- Connect the RTS pin to the bottom of the two pins on the recovery mode
jumper on the right side of the orb. This allows controlling recovery mode
of the orb.
- Double check that nothing is going to short circuit. It is ok for the GND pin to touch the chassy, but it is NOT ok for any of the other pins to touch anything else.
- Plug the serial adapter into the USB dock and connect the dock to the NUC.
(Optional) Recovery from a bricked microcontroller
For each microcontroller that you want to be able to recover without, you should attach the ST-Link. For setups where you don't want to physically have to access the orb, we recommend keeping both ST-Links always attached to their microcontrollers. You can do this by:
- Plug the tag-connect adapter into the port. There are two - one for the main mcu on the front center of the orb, and one for the security mcu on the back of the orb.
- Connect the other end of the tag-connect to the ST-Link.
- Plug the st-link into the NUC (via the dock or directly).